Categories
Electronics

Sega PSU to ATX PSU Adapter

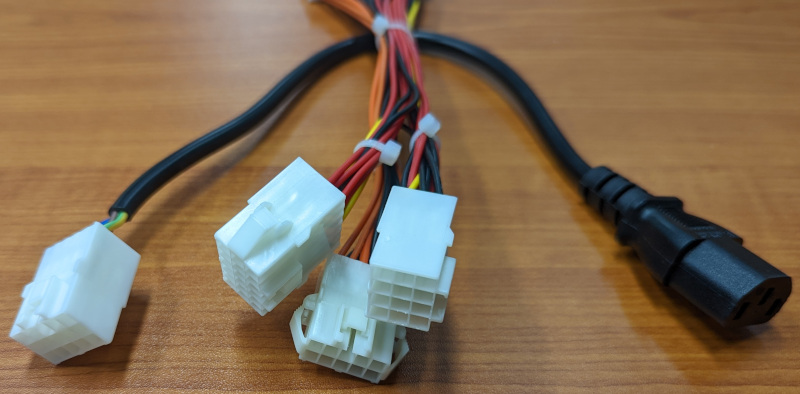
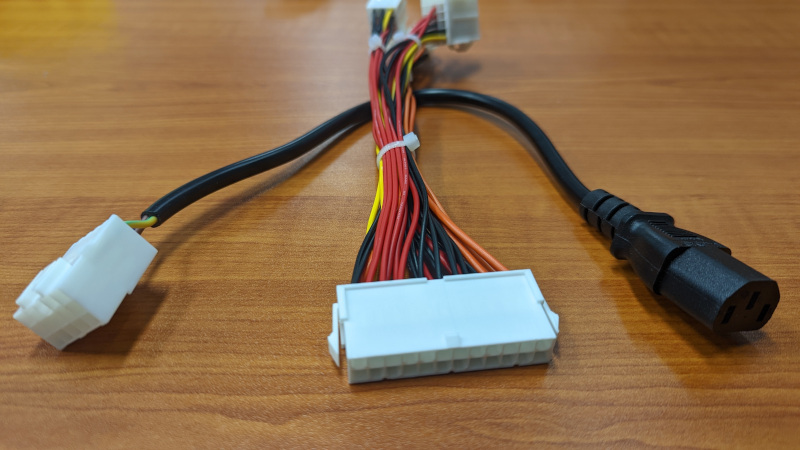
14-Oct-2022: A new version of the adaptor is available through Highway Entertainment

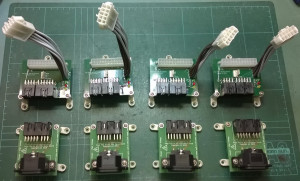
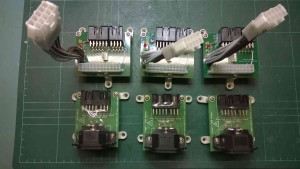
Below are some images of the new version of the Sega to ATX psu adapter.
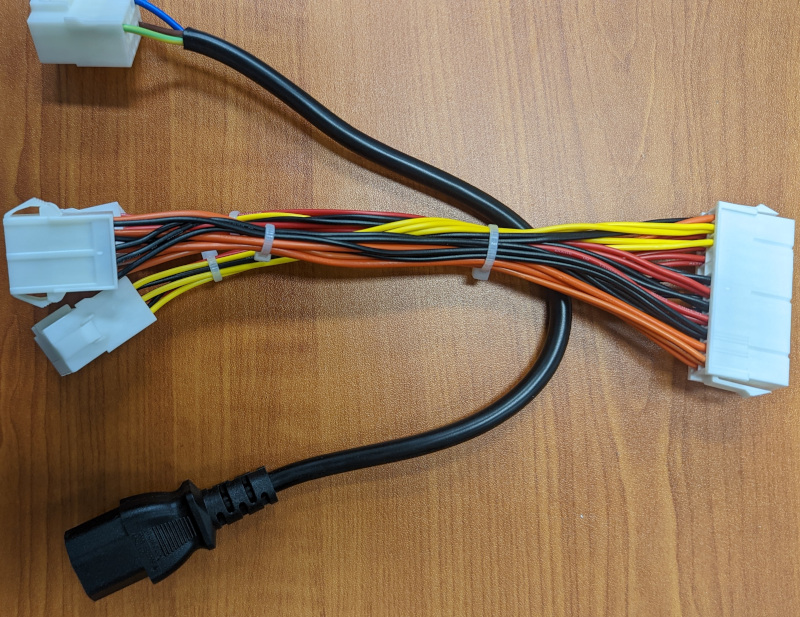

We are pleased to announce the distributor for these is Highway Entertainment. http://www.highway.net.au/news/introducing-the-sega-to-atx-power-supply-adapter-kit/450.html

Over the last few months I have been working on a adapter board to allow Sega power supplies such as the Model 1 and Model 3 PSU, be replaced with a generic ATX power supply without needing to modify the wiring loom. These power supplies, which are no longer available, used to cost over $400 USD from Sega.

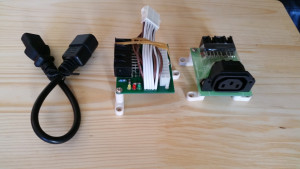
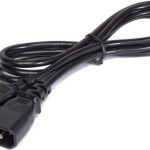
This kit will include these two boards and a 30cm IEC C13 to C14 cable. It is expected that these will be available for sale around the beginning of August 2015.

AdapterKit ieclead

These power supplies were used in games such as Virtua Racing, Star Wars Arcade, Virtua Fighter, Wing War, Sega VR-1, Dennoo Senki Net Merc, Virtua Fighter 2, Manx TT Superbikes, Sega Rally Championship, Sega Rally Pro Drivin', Sky Target, Virtua Cop 2, Dead or Alive, Dynamite Baseball, Dynamite Cop, Pilot Kids, Virtua Fighter 2.1, Motor Raid, Zero Gunner, Boat Race GP, Virtua Fighter 3, Virtua Fighter 3tb, Sega Bass Fishing/Get Bass, Scud Race, Le Mans 24, Scud Race Plus, Harley Davidson & L.A. Riders, Fighting Vipers 2, Sega Rally 2, Ski Champ, Daytona USA 2, Daytona USA 2: Power Edition, Dirt Devils, L.A. Machineguns, Spike Out, The Lost World: Jurassic Park, The Lost World: Jurassic Park Special, Virtua Striker 2, Virtua Striker 2 Version '98, Virtual-On Oratorio Tangram, Star Wars Trilogy Arcade, The Ocean Hunter, Emergency Call Ambulance, Magical Truck Adventure, Spikeout Final Edition etc etc...

After lots of effort things are finally coming together and the boards should be available sometime in the next couple of months.

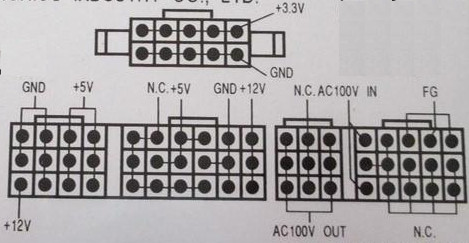
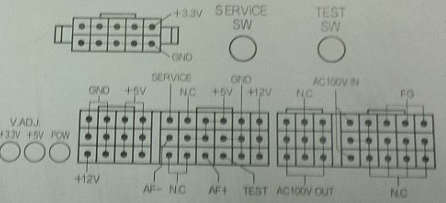
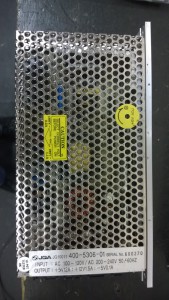
Power supplies with a pin out like that in the below images can be replaced with an ATX power supply with this kit.

outputs

AstroPinout

This version (below) has a -5v on CN2, but it is not connected on the wiring harness in the Sega machines.400-5306-01.end
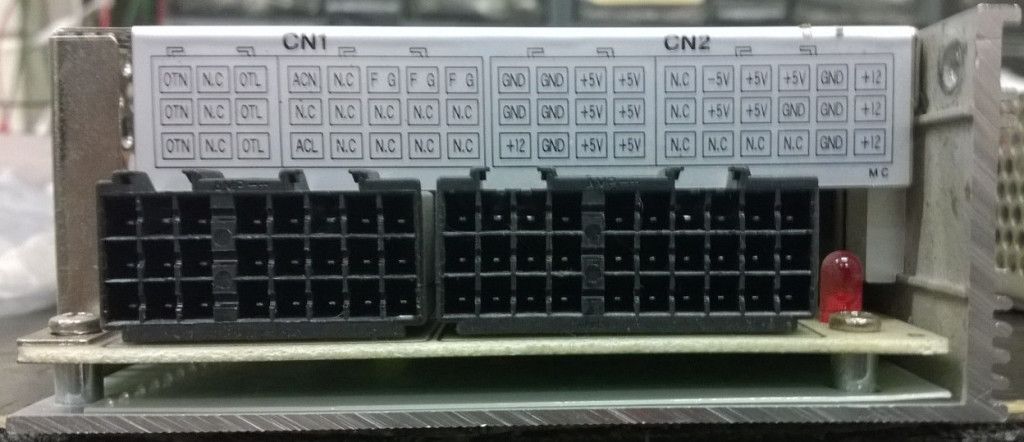
Further down this page you will find pictures of power supplies that are able to be replaced with this adapter kit.

DC Board

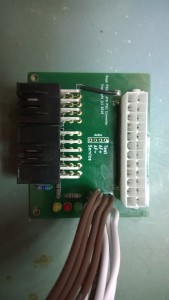
The DC Board has indicator led's for the presence of 3.3v, 5v and 12v.

I have added a connector labelled Astro to the board for the Service, Test, AF+ and AF- for Astro City.

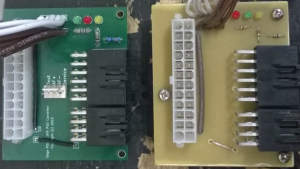
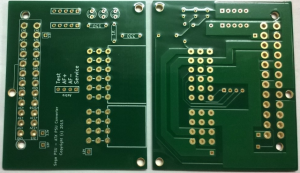
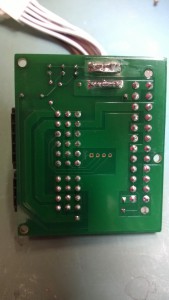
Below is a picture of an early prototype on the right and the final finished board on the left.

WP_20150706_010

The kit will include 2 boards. One board will accept the existing 110V plug in, and will have an IEC female output to go to the ATX PSU. The second board will take the 20 or 24 pin ATX plug and present the same connectors as you get on the original power supply. There are quite a few power supplies that can be replaced with this kit.

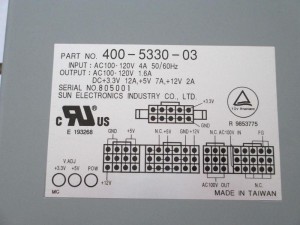
Power supplies like those pictured below can be replaced.

Note: Some power supplies do not have a 3.3v connector. If that is the case then the connector is simply not used.

400-5330-03 PSU

segapsu

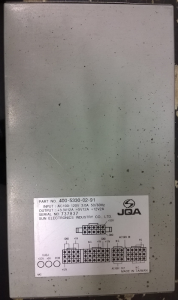
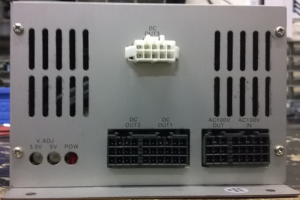
JQA Power Supply / 400-5330-02-91

Top View

jqa_002

Front View

jqa_001

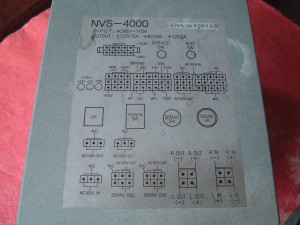
NVS-4000 PSU

This unit is common in Astro cabinets and has a couple of extra wires which we have also included on the replacement board.

NVS4000-Pinout

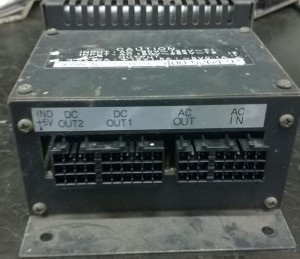
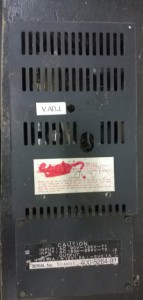
400-5264-91 PSU

400-5264-91

400-5264-91.2

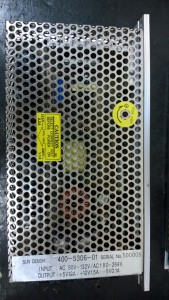
400-5306-01 PSU

WP_20150806_008

WP_20150806_007

Update - 06-July-2015

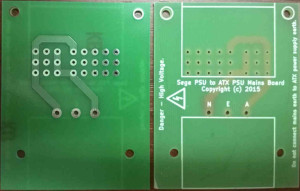
The circuit boards arrived from the manufacturer, and they look fantastic. This board has been made with a thicker substrate than normal (2mm) and also has heavier 4oz copper to handle the high current required.

WP_20150706_003

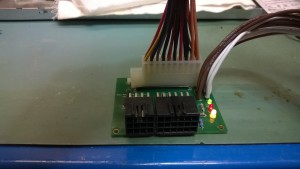
The board powered with a 20pin ATX psu. The board will work with 20 pin and 24 pin ATX Power supplies.

Green Led = 3.3v, Red Led = 5v and Yellow Led = 12v

WP_20150706_005

Top view of an almost finished board. Just missing the 4pin header in the middle of the board.

WP_20150706_006

Bottom view of the almost finished board. Just missing the 4pin header in the middle of the board.

WP_20150706_008

Update - 16-July-2015

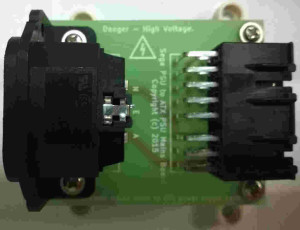
The AC Board has arrived this morning.

mainsboard

The assembled AC Board

ACBoard

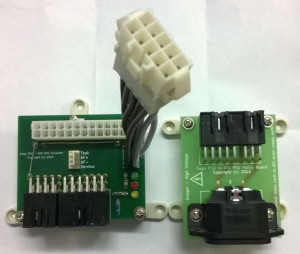
Both the boards together.

AdapterKit

Update - 17-July-2015

The task of assembling the boards has begun.

production-begins

Update - 17-July-2015

The finished product. The AC board has some transparent heat shrink over it to provide a little bit of protection from it being put on top of a metal case, or someone touching it while its live.

CompletedBoards

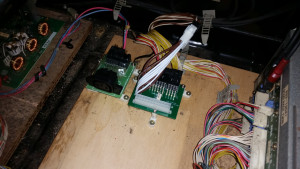
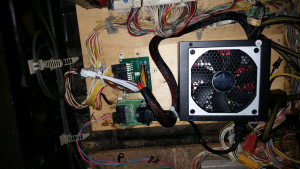
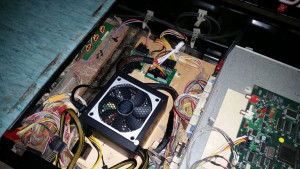
Below are some photo's from the an installation by Aaron in New Zealand who was kind enough to send these photo's back.
115320

121340

121918

121911

123249

Categories
Electronics

DAP008 pwm as replacement for LD7575 pwm

Recently a friend had a faulty power supply come in for repair. It had the usual problems of blown caps in the secondary, but this one also had issues on the primary side and had blown its FET, a couple of smd resistors and the PWM. The PWM was a LD7575PS. As neither of us had any of these PWM's on hand I decided to go searching for a possible replacement that we may have instead of having to wait for them to arrive from a supplier/ebay.
After a lot of searching on Google, I was unable to find anything except for a post on a forum somewhere that stated there was no replacement that was pin compatible. I did not believe this, so I kept looking. Eventually I decided to search for a datasheet on a PWM that I had, with the markings DAP08. which I had not been able to find anything on. After some searching, for some reason, I ended up searching DAP008 instead, and low and behold, there it was. So now I had both datasheets, I was able to do a quick comparison. To start with, the pinouts were identical, so now it was just the electrical characteristics that were going to determine if it could be used. The frequency of the LD7575 can be set by a resistor between RT (pin 1) and Ground. The datasheet shows that a 100K resistor will give a frequency of 65KHz on the LD7575, and that is exactly what the power supply we were repairing had. So now that I knew the switching frequency, I looked at the DAP008 datasheet and sure enough, the frequency on the DAP008 was also 65KHz.

With this information we fitted the DAP008 to the power supply and fired it up and sure enough, it sprang to life. We did not even remove the 100K resistor between pin 1 and ground. So we put some load onto the outputs and left it running on test for a little while and nothing was getting hot so off it went back to the client, and its been running happily ever since.

Categories
Electronics

Service Repair Tools

Over the years there have been numerous improvements in servicing tools such as soldering irons and desoldering tools. These are some of the tools which I have used over the years in the industry.

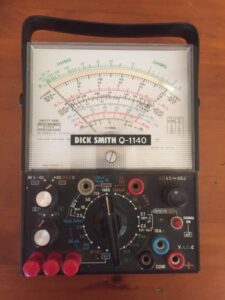
I found my old Dick Smith Q1140 analog Multimeter when having a clean up. I found that I still had the original leaflet type manual in the original box, so I have scanned it to pdf for archival purposes.

Dick Smith Multimeter Q1140 Manual


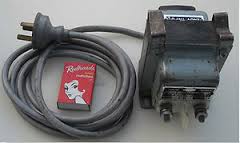
One of the very first soldering irons I used was a Scope soldering iron, which consisted of a 5V 30A transformer and separate hand-pieces. I still have my unit sitting in an old toolbox in the back room. Maybe one day I should donate it to a museum!

ScopeTransformer

I had the Superscope hand-piece like this one below which was made of Bakelite and after many years of use became quite brittle. The later updated the design to use new generation of plastics which were quite a bit better at keeping the heat away from the handle and did not seem to become brittle with age.

SuperScopeHandpiece

I also had the Miniscope hand-piece later on, which was quite a bit smaller and easier to get into hard to reach places on tv's, vcr's and cd players etc. The temperature on the iron was controlled by the user by holding the switch down and letting it go to regulate the heat at the tip, which was a bit of an art, but once you got used to them, they became quite easy to use.

miniscope

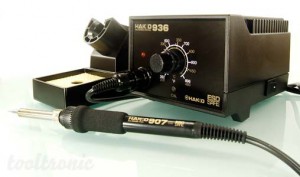
After the Scope came one of the most well known Hakko soldering irons on the market, which is still around even today, the Hakko 936 temperature controlled iron. These irons were the work horse and compared very well to the Weller and Pace equivalent units that were also on the market. I still pull this unit out from time to time when I need to do some work on the road, or away from the workbench and its just too hard to get the bench iron to the job.

hakko-936

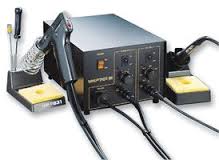
The next upgrade was not really an upgrade as such. I got a Hakko 701 which is a combination of a 936 iron and a 474/808 desoldering gun. I still use the desoldering gun on this unit, but the soldering iron has been put away in favour of the Metcal unit listed below.

hakko-701

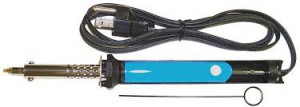
Speaking of desoldering, this Weller unit was one of the first powered desoldering pumps which I used, and for its time, it did work quite well, even if it was quite a large unit and it was laborious having to press the plunger back in each time.

weller-desoldering-iron

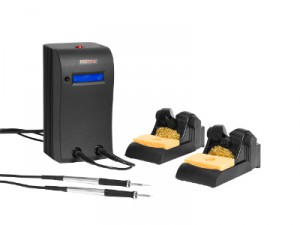
The late came a few years ago. It was a Metcal MX-500 series soldering station with both the Metcal Advanced hand-piece and the UltraFine hand-piece which I install a 0.2mm ultra fine tip into for those fine repair tasks that are just too small to use the standard iron or hotair for. This iron has been without a doubt the best iron I have ever used. The unit has lots of power to tackle those lead free solder boards that you just could not tackle before with the likes of the older Hakko irons. Add to that the ability to quick change the tip's along with the massive range of tunnel tips for smd devices, such as dpak, soic, sop, soj, som, qfp, sqfp, tqfp, plcc and the unit is hands down the best irons that I and my best friend Jomac have ever used. There is a brand on the market called Thermaltronics which is very similar to the Metcal units, but in my experience, the power supplies do not have the power of the Metcal unit and the tips do not last as long or have the same quality or feel of the Metcal tips.

MX-5000

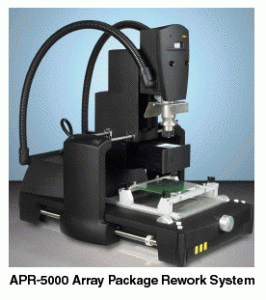
Now we live in the world of BGA devices, it became apparent a number of years ago that without the correct tools, a lot of boards would simply not be repairable by us, so we got the Metcal APR-5000-DZ Rework system. This unit consists of the main unit pictured below and a PC with software which in conjunction with the sensors on the unit and a high power camera provides the ability to rework boards up to about 30 x 35cm in size. This unit has been absolutely unbelievably handy to us and has allowed us to repair so many boards which we would have otherwise had to write off or send off to the manufacturer for repair.

apr-5000-dz

Edit: 08-Oct-2015:

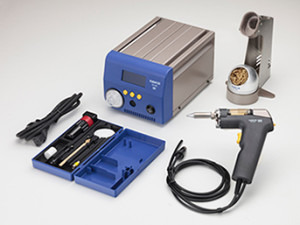
This is the latest edition to the work bench replacing the Hakko 701. I purchased the Hakko FR-400 Desoldering Station which is rated at whopping 300W and has the power to tackle those heavy ground planes etc. I have not had the unit for too long, but I am really liking its power.

fr400_10

products_hakko_fr400_img

Edit: 03-Sep-2016:

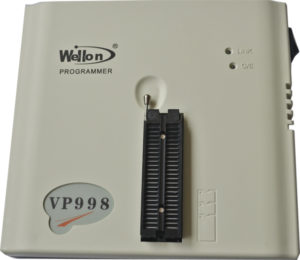
The latest edition to the toolkit is a Wellon VP-998 Universal programmer. This unit supports some 80,000+ IC's and includes ttl/cmos and dynamic/static ram tests.

VP998

Edit: 08-Apr-2017

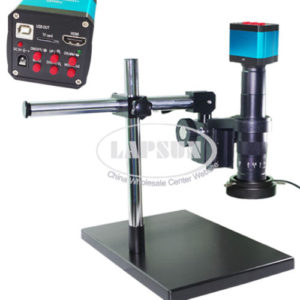
Purchased a digital microscope to get high quality look at smd components and for very small reworking of components.

Edit: 22-Dec-2020

Purchase the professional Repair Kit to perform better quality repairs on circuit boards. This toolkit contains all the necessary items to perform repairs out of the box.

Edit: 12-Oct-2023

The latest addition to the workbench is a Rigol 4 Channel Oscilloscope with 350MHz bandwidth, 16 Channel Logic Analyzer and 2 Channel 25MHz Arbitrary Wave Form Generators.