When I first got this board onto the bench and powered it up all I got was a chirp from the speakers every second or so as the board was stuck in a reset loop.
Starting at the beginning, I checked that I had a working clock and that I have 5v at the logic chips. They both checked out ok, so I started to probe around the buffers and rams and found a lot of floating pins on the video ram at locations F14 and F15. These chips were removed and tested and confirmed to be dead. So new rams were installed and the board was powered on again.
As expected this did not change the actual fault, but now I was getting a screen flash up each time the board reset. I checked the other rams and found that the one at position F3 was also showing a lot of floating pins.
I removed this ram and tested it in the programmer and it too was dead. So a new chip was installed and the board powered up again. This time the fault changed to a ROM check screen showing that chips K06 and K07 (locations K13 and K19 respectively) were bad. Great I was making progress.
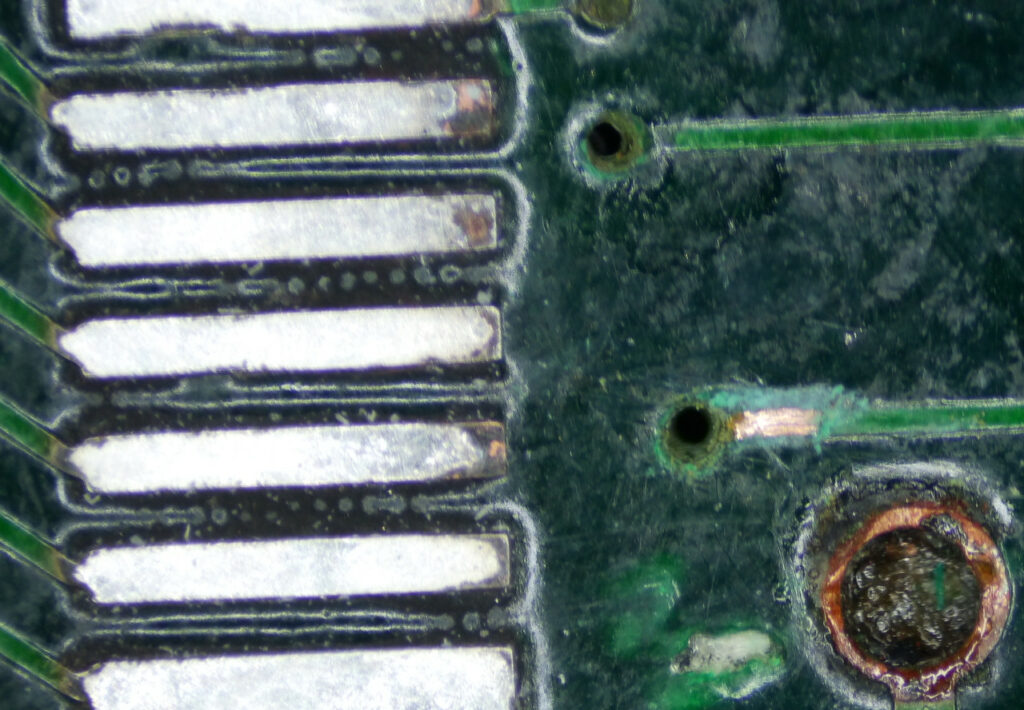
I started checking around those roms and noticed that they were addressed by the custom IC 052109. I also noted that there was two SRAMs which also went to the same custom IC. Checking around the rams showed that I had a number of inactive data lines on the rams. I traced the data lines between the ram and the custom IC and found there was 2 lines which were open circuit. Once again corrosion had eaten through some vias. Unfortunately they were both directly underneath this custom chip.
Although I do no like having to remove these custom chips, it was either remove it and repair the vias, or run fairly long wires to the custom chip which I do not think looks very good from a repair stand point.
So off the chip came and now I was able to see just how bad these vias were. There was almost no copper left, even inside the hole itself. So I cleaned up the holes and removed the solder mask on the tracks on the top and bottom of the board and ran some new copper track through the holes and soldered them in place.
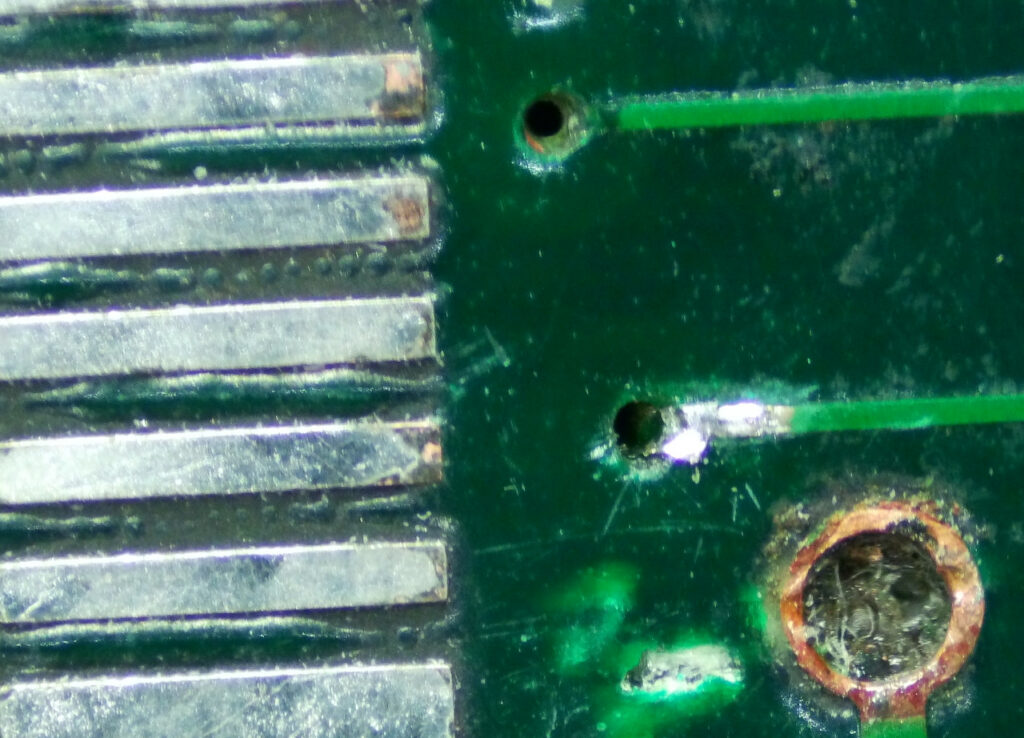
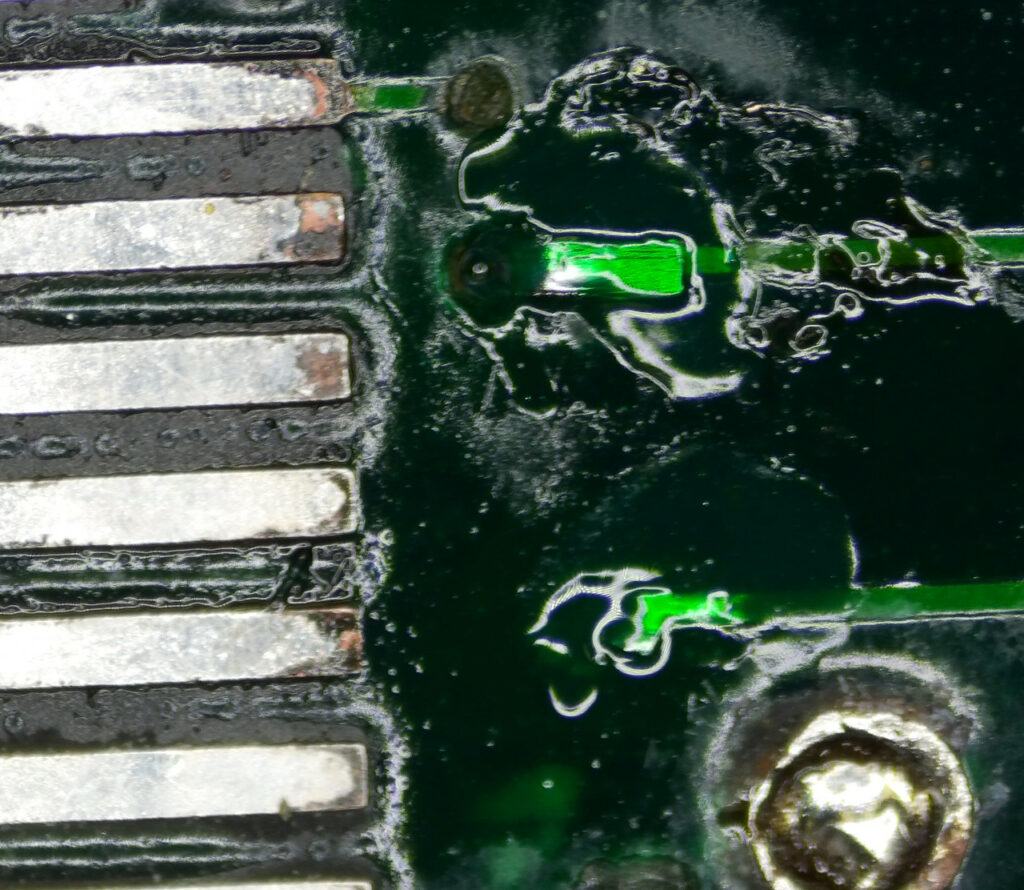
Finally putting some new solder mask over the repair to protect it from corroding again.
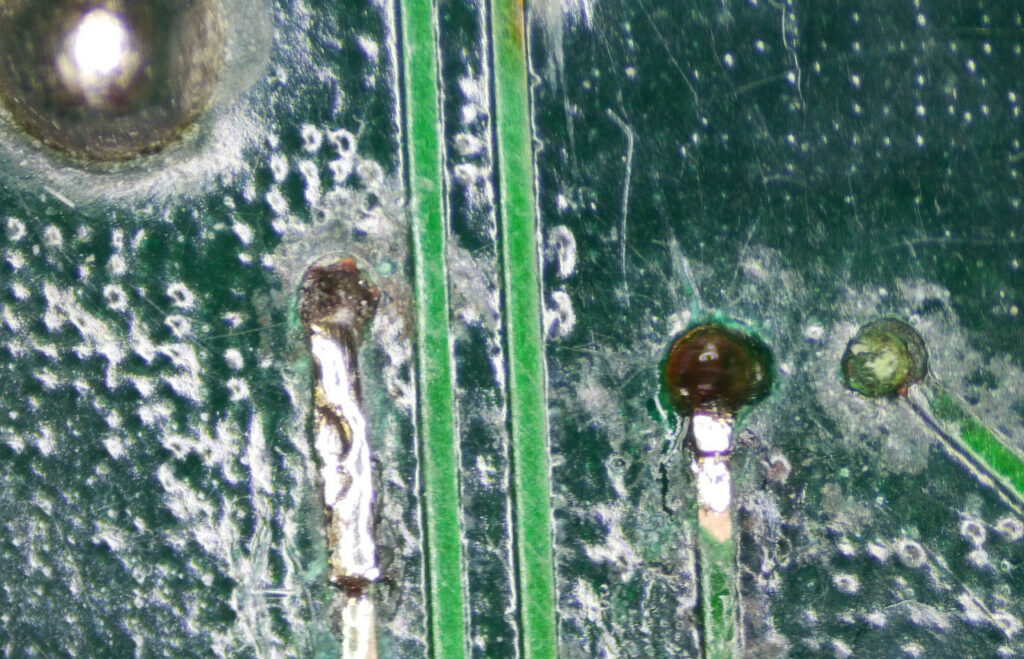
Before reinstalling the custom IC, I decided it prudent to check all the connections from the 120 pin custom IC to ensure there was no more broken vias. It took a couple of hours to go around all the pins and trace them out, but it was time well spent as I did find another couple of corroded vias which were no longer connected. Repairing these final couple of vias I was ready to reinstall the custom IC.

I reinstalled the custom IC and fitted sockets for the mask roms at K13 and K19 and prepared to power up the board again and see if my repairs had been successful. Powering it on again, I was greeted with a rom test screen showing me that the roms were ok.

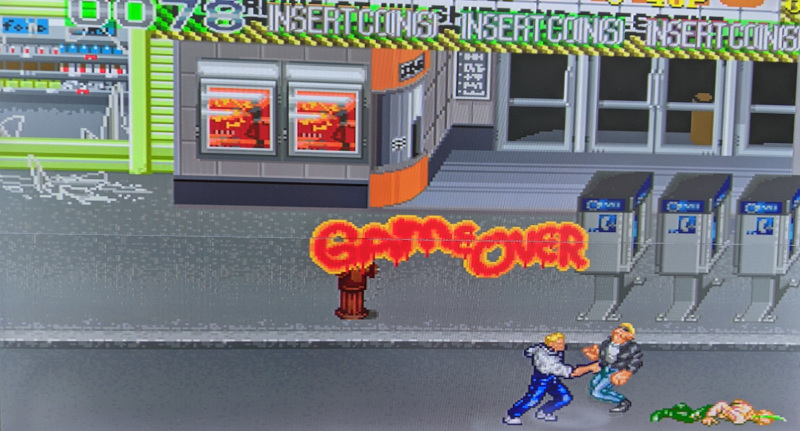
Success! I turned off the test dip switch and power cycled the board expecting to be greeted with yet more faults, but low and behold, the game was working.
There was no sound, so turning on dip switch 8 on bank 2 and powering up the board again confirmed that the audio was also working. However there was quite a bit of hum in the audio. These old boards have a habit of having the 12v filter capacitors damaged during handling and storing. So I replaced the capacitor and fired it up again, and this time the hum was gone. Another successful repair and thanks to taking that extra bit of time and effort, the board still looks like its hardly been worked on.
